|
No pictures (I didn't think of taking them), sorry.
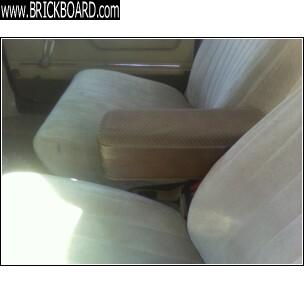
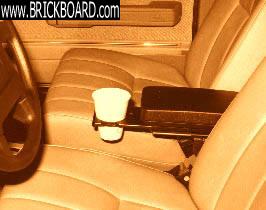
I understand that there are two versions, but I have a 2-pg .jpg (from someone else on this forum) for the kind I don't have -- that one has (from the picture) the reinforcing internal bracket mounting in two pieces, attached on the bottom on each side, whereas mine (with cup-holders for the front as well as the rear) is a single, complete, "U" shape that's held by the large, single middle bolt into the transmission tunnel ... it's very sturdy.
If you want the instructions and pictures that I have, let me know and I'll e-mail them to you.
If you have the kind like mine (without any instruction sheet), I can give you a few pointers for the troublesome parts (as I remember them) even without the actual instruction sheet:
First, you have to remove all the electricals (including the remote mirror controls -- be sure to mark them so you can reinstall them right-side up, because despite their "tang", that might happen).
Second, you'll have to figure out which is the front and which is the rear side of that metal U-bracket. You really have to first mount it in place to the transmission tunnel with the big center bottom bolt, and then look at the subtle tilt or slope of the top of the bracket, to see how it matches the slope of the housing.
Third, with the bracket in place, lower the housing onto it, and then with a sharp punch, you have to reach through the ashtray hole and push exploratory holes up through the top of the housing so you know exactly where to drill your holes for the bolts that attach the armrest's hinge.
I think everything else is intuitive -- just keep track of all the electrical connectors. And I remember that the seat heater switches' connectors were particularly troublesome (their leads were too short).
Hope this helps, at least a little. Good luck.
|


