Volvo RWD 200 Forum

INDEX FOR 10/2025(CURRENT) INDEX FOR 6/2019 200 INDEX

[<<]  [>>]


THREADED THREADED EXPANDED FLAT PRINT ALL
MESSAGES IN THIS THREAD


  REPLY TO THIS MESSAGE    PRINT   SAVE 

Air in Brake Lines 200 1989

I have mediocre/novice mechanic skills, having started tinkering on Volvos about 5 years ago. I have replaced rotors, brakepads, rebuilt calipers, full interior rehab, heater core/blower motors, etc., but I feel ignorant about other things.

I purchased "The Falcon" an 89 245 last summer, which my youngest son claimed for his own. We did some minor work on it and it has been virtually trouble free. His brakes have been softer than the 700s we own, so we bled the brake lines earlier this spring with moderate success. We had to do something on it this weekend so we decided to re-address the squishy brakes and try to remove more air while the car was up on four jacks. In the process of bleeding the brakes I failed to check the reservoir and we pulled air into the lines and probably some debris that had collected in the bottom of the container.

We did not intend to flush a full quart of dot 4 brake fluid through the system but we have. After pulling air (and dirt) into the system my son was unable to obtain more than a trickle of liquid from the left rear fittings, and I suspect we have air behind a clogged nipple. Other fittings are clear.

What do I do to allow the brake fluid to once again be bled through as previously done? Can I open the fitting and stick piano wire or something else into the hole to loosen things up? We have taken it down from the stands twice to test it, both times it stops well on the first attempt, but by the time we have returned home we are not sure we can stop where we want to.

We have been going with the following pattern, which varies from what my Bentley manual suggest for bleed order:
Rt rear, Lt Rear, Rt front lower then upper, Lt front lower then upper.
Should we be following the Bently guidelines?

Any suggestions? Troubleshooting tips?


Glynn


  •   REPLY TO THIS MESSAGE Replies to this message will be emailed.    PRINT   SAVE 

    From out of the past... 200 1989

    Hi Glynn,

    Here are some excerpts from my "Canned Posts" file. Voice of experience and all that. At least it will bump this thread back up in the "recently modified" category.

    ===============================>

    Since the pre-ABS 200's have two separate hydraulic systems, the recommended sequence (below) bleeds each system separately.

    On the front calipers, the upper two cylinders form an inverted "U", with a single bleeder at the highest point. The lower two cylinders form an upright "U", with bleeders at the two high points. The upper and lower cylinders are each in a separate hydraulic system.
    (See illustrations in Bentley, p 500-1 and Haynes, p 9-13)

    Either system can be done first:

    System A:
    1) Left rear
    2) Left front - Upper piston chambers (single bleeder, top)
    3) Right front - Upper piston chambers (single bleeder, top)

    System B:
    4) Right rear
    5) Right front - Lower piston chambers (inner and outer bleeders, either first)
    6) Left front - Lower piston chambers (inner and outer bleeders, either first)

    \==================================================\

    Rebuilders sometimes get Left and Right halves of 240 front calipers paired up wrong. The inner half, where the lines attach, will have an opposite side outer half paired to it but it will be upside down!!!.

    Check the TOP of each front caliper, right near the mating joint between the two halves. The surface should be free of any punch marks.

    Then look up at the BOTTOM of each one. You should see a good-sized "dimple" on each half, near the joint line (within 1/2" or so).

    If you DO see a dimple on the TOP of the outer half, that caliper has an unbleedable lower, outside passage.

    What appears to be the "Outside Lower" chamber bleeder screw is actually connected to the bottom of the Outer Upper chamber. (It should be the Outer Lower chamber & bleeder on the opposite side of the car.)<<

    \=============================================\

    Here's a Brake Tip I toss in at every opportunity:

    You can prevent Master Cylinder Brake Fluid Loss from any/all open brake line(s) by blocking the brake pedal depressed before you start. It only takes an inch or two on the pre-ABS 240s. The ABS 240s need more pedal travel, like the 700/900 cars (in which case the bleeder needs to be open while pedal is being depressed almost all the way).

    I made a wooden prop that hooks to the bottom edge of the pedal and bears against the 240 seat adjuster bar. It's handy for checking brake lights too. But remember to disconnect the battery or pull a fuse to keep brake lights off while the pedal prop is in place.

    The 700/900 Green Book shows the 700/900 pedal fully depressed by a special tool (easy to replicate with a 2x4, etc.). I made one with a notch for the pedal and another to fit the bottom of the steering wheel. The book also says to open a bleeder first, and use a tube and container to catch the fluid expelled when the pedal is being depressed.

    For systen flushing, I use a clear bleed hose and ATe Super Blue fluid. So "When the blue comes through, you know it's new." Takes less than a liter to do the 240. On the next flush I switch to ATe Amber fluid (or any DOT 4).

    \================================================\

    As a bleeder the MityVac really sucks (pun intended), for reasons stated. But you can use it as a pressure bleeder, with a little junk box fabricating.

    I adapted a hose fitting to a spare MC cap, attached about 30" of hose leading to the pressure port on the MityVac, and "tee'd" a cheap vac/pressure gauge into the hose (MityVac Gauge reads vac only). With 4 or 5 pumps, there is 10 to 12 psi in the MC, which I've found to be adequate, but lately have used it up to 16psi.

    You can bleed at least one rear wheel without refilling or repressurizing. Or maybe once per wheel. But first clear out the old fluid in each cylinder by slowly pressing each piston back with the bleeder open, using a bleed tube to catch the expelled fluid. It takes only a minute to top up both fluid and pressure as needed.

    <================================\

    Hope there was some help here,


    --
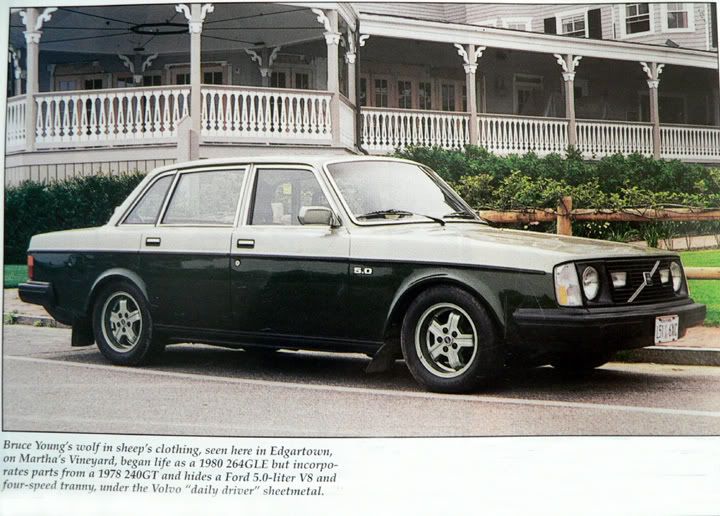
    Bruce Young, '93 940-NA (current), 240s (one V8), 140s, 122s, since '63.


    •   REPLY TO THIS MESSAGE    PRINT   SAVE 

      Pressure bleeder 200 1989

      The simplest setup is probably a tire valve installed in an MC cap and a bike tire pump ($1 store). Use pump to pressurize system and refill MC often.

      Note: Try using a deep 8mm (?) socket to first loosen frozen bleeders as bleeders snap easily. The socket flush to the caliper body is less likely to bend/snap bleeders.
      --
      1980 245 Canadian B21A with SU carb but electronic ignition and M46 trans in Brampton, Ont.


  •   REPLY TO THIS MESSAGE    PRINT   SAVE 

    Air in Brake Lines 200 1989

    Hello,


    If there was dirt in the fluid and it entered the master cylinder, you may have shredded the seals inside of it.

    Make sure that the rear wheels are higher then the front when bleeding. Use of a tinkers hammer on the calipers and other components helps dislodge any bubbles.


    Goatman


  •   REPLY TO THIS MESSAGE    PRINT   SAVE 

    Air in Brake Lines 200 1989

    I don't have a Bentley manual but I would assume it gives the proper Volvo order in which to bleed the brakes--which doesn't follow the more "normal" order of going from furthest away to the closest to the master. As Trev29 suggested--remove the bleeder screws to clear blocks in them (I've had to use a tiny drill bit by hand at times to clear an obstruction). The orifice is located on the side of the screw (sometimes so packed up you need to wire brush the screw just to locate the hole). Squeeze the pistons in with the bleeder out to eliminate any larger particles. Be sure to use DOT 4 rated fluid. Gravity can be your friend--to start with a dry system loosen all the bleeders, fill the resevoir (keep an eye on it) leave the cap loose and watch the bleeders as they drip. Close them when the drip is steady. Then you can proceed with doing a pump and flush bleed when you've seen fluid at all the points. -- Dave


  •   REPLY TO THIS MESSAGE    PRINT   SAVE 

    Air in Brake Lines 200 1989

    Yes, remove the nipple and poke away the blockage. And squeeze in pistons to push gunk out nipple.

    Holding pedal down stops fluid from exiting reservoir.

    I pressure bleed the system, doing the rear brakes first.

    --
    1980 245 Canadian B21A with SU carb but electronic ignition and M46 trans in Brampton, Ont.


<< < > >>


©Jarrod Stenberg 1997-2022. All material except where indicated.


All participants agree to these terms.

Brickboard.com is not affiliated with nor sponsored by AB Volvo, Volvo Car Corporation, Volvo Cars of North America, Inc. or Ford Motor Company. Brickboard.com is a Volvo owner/enthusiast site, similar to a club, and does not intend to pose as an official Volvo site. The official Volvo site can be found here.