Conversion of A/C system form R12 to R134a Retrofit:
Page 7
A15
Install the following:
Receiver in the Car
new lubricated O-rings at the joint between the evaporator and at the receiver
outlet.
pipe to evaporator and at the outlet. Tighten by hand
A16
Tightening an torques:
the pipe between the evaporator and receiver. 27 Nm (20ft lbs) at the evaproator
and 45 Nm (33 ft lbs) at the Receiver
the pipe at the receiver outlet with 45 Nm(33 ft lbs)
fillter pipe (Upipe) with 16 Nm(12 ft lbs)
screws on the receiver clamp
A17
Use a new O-ring for the old pressostat,(lubricate with ester oil)
and install it on the receiver
Compar size of the new O-ring with the old one to ensure correst dimension.
Tighten the pressostat with 3.5 Nm(31 in. lb)
A18
Connect the connector to the pressostat
A19
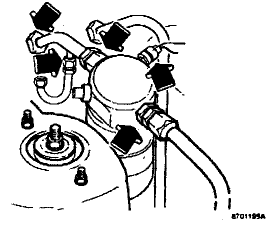
Install the new SAE Filler valve for R134a
Alternative 1: Use a new yellow lubricated O-ring and install
on the filler pipe (U pipe). Install SAE filler valve. Tighten with 15
NM (12 ft. lbs)
Alternative 2: Use a new yellow lubricated O-ring. Install on
the filler pipe (U pipe). Insatll SAE filler valve and circlip (included
in basic kit). Tighten with 15 NM (12 ft. lbs)
Brickboard.com is not affiliated with nor sponsored by AB Volvo, Volvo Car Corporation, Volvo Cars of North America, Inc. or Ford Motor Company. Brickboard.com is a Volvo owner/enthusiast site, similar to a club, and does not intend to pose as an official Volvo site. The official Volvo site can be found here.