|
I've done my share of seat back repairs but till now I've mostly escaped repairing the grid that supports the seat bottom cushion. Well, mine popped loose the other day so this weekend I took care of it. I finally realized (after all these years) that the solution is not too difficult.
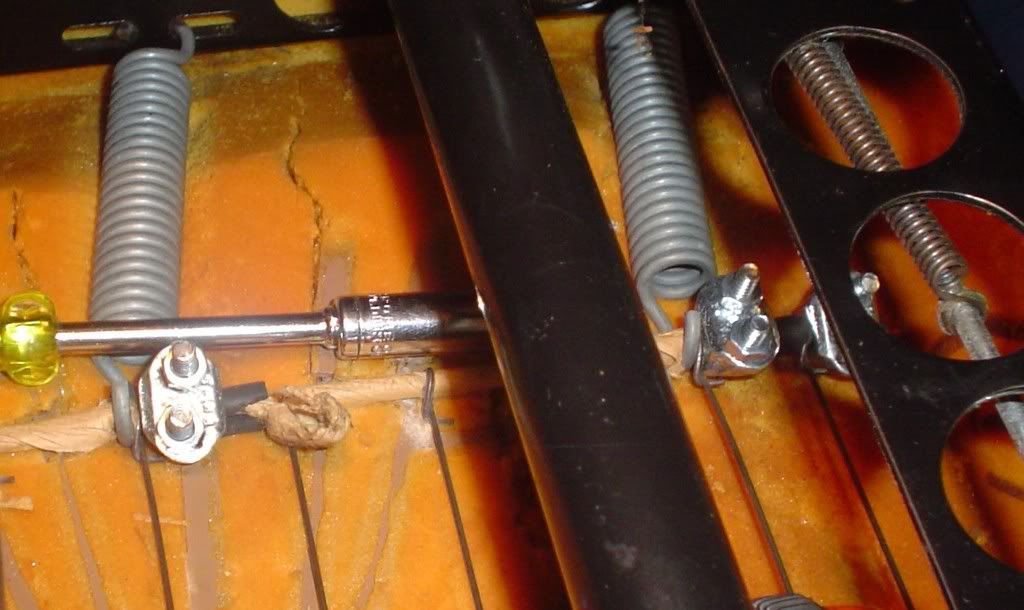
The grid has three wires running front to back, and a bunch going across. Maybe eight or so. Nothing in the grid is welded, and the wires that the springs hook onto are heavier (stronger) than the cross wires. See this photo of my solution. Yellow-handle deep socket driver is what I used on the little clamp nuts.
Apparently the failure mode is that the paper lets go, then the cross wires slip off the main wires, and that lets the springs slip off the main wires. No need to superhumanly stretch the springs, just slip them onto the end of the main wire and slide down into place.
I inserted bits of fuel line between the cross wires. The leftmost one is split so I could slip it over the wire without disassembling the grid. It is just to make sure the grid stays put, it hadn't come apart there. However there's lots of tension on the coil spring there so I wanted to beef things up a bit.
The two pieces on the right were just cut to length and slipped over the main wire. Then I slipped the cross wires back into place on the main wire. The cross wires have looped ends, you just slip them over the main wire and slide into position.
When originally assembled the cross wires ends are crimped into place onto the main wire, with paper wrapping the main wire. Once you tear away the paper wrapping the cross wires' loop ends slip easily onto the main wire. I used the fuel line sections as spacers instead of the paper, and clamped them down. The fuel line I.D. is about 1/8" and the clamps fit snug over the fuel line before tightening.
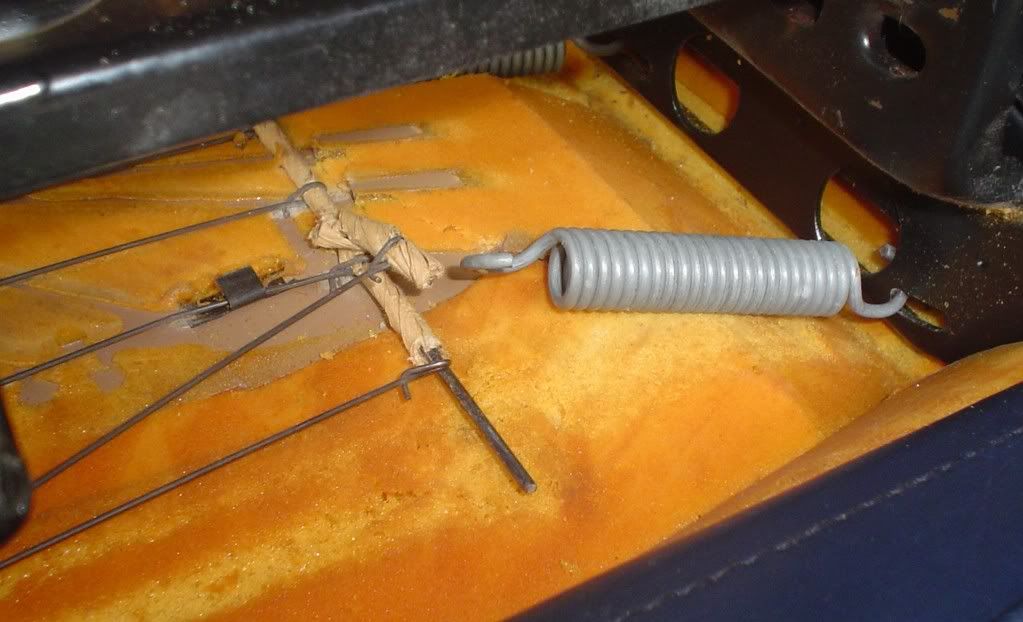
Below you see how it I found it once I flipped the seat over.
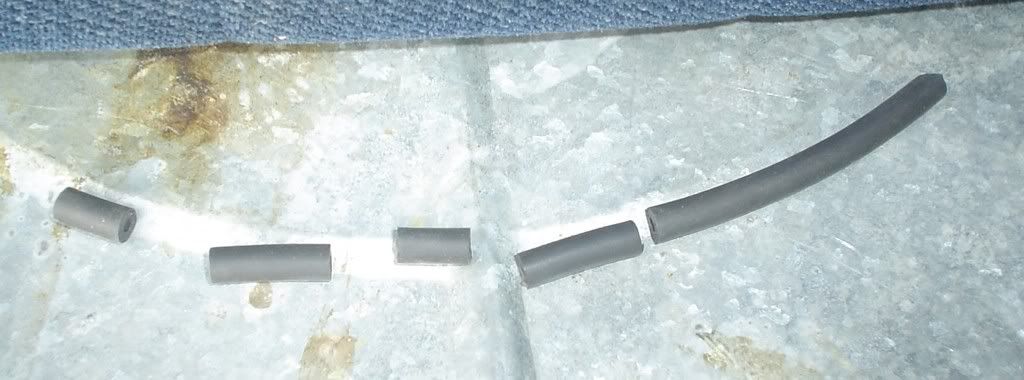
Here are a few lengths of fuel hose, four pieces cut as needed and a bit left over.
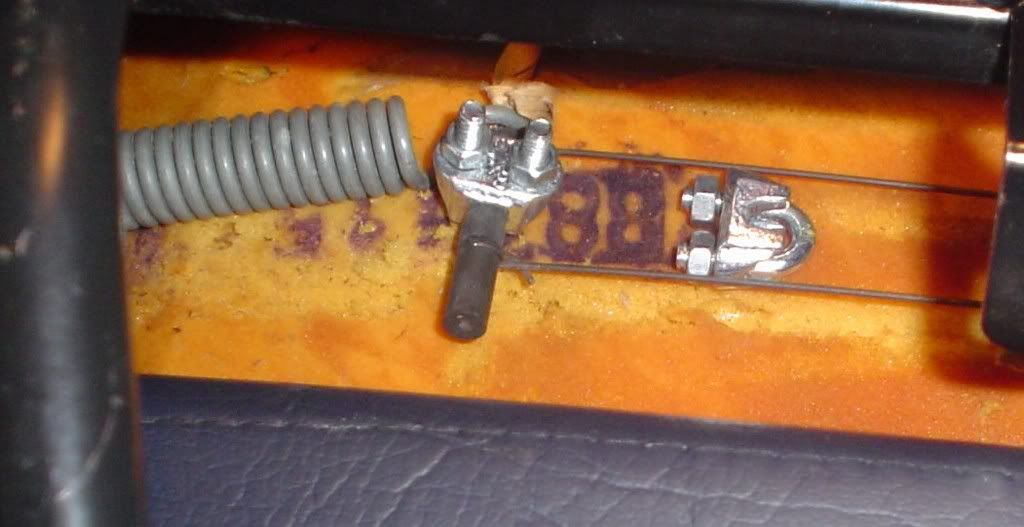
Closeup of one main wire with two cross wires reinstalled, two spacers, and one clamp installed. The last clamp will go on next.
--
Sven: '89 245 NA, 951 ECU, expanded air dam, forward belly pan reaches oem belly pan, airbox heater upgraded, E-fan, 205/65-15 at 50 psi, IPD sways, no a/c-p/s belt, E-Codes, amber front corner reflectors, aero front face, quad horns, tach, small clock.
|