|
Mike,
I have never done an evaporator on a 240. Perhaps you can walk me through the pitfalls on that someday.
I assume that you have read the FAQ's, there is information there.
My evaporator experience is on a 94 944t. The first hurdle is locating and getting to the fasteners. I originally was going to write up the whole process of swapping the evaporator for the FAQ’s. While I have the images I am unable to find my notes! This first image locates all the fasteners:
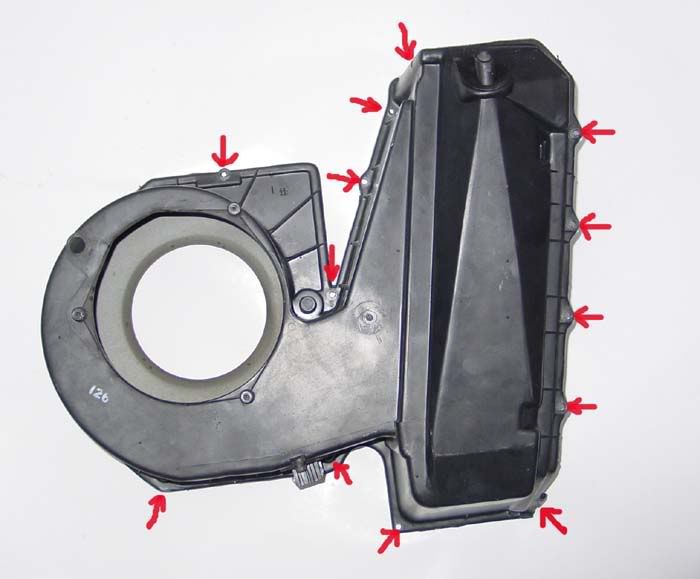
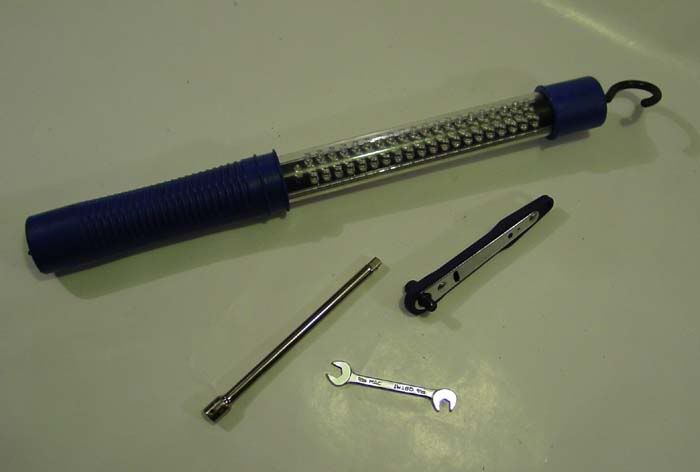
Obviously the space is limited and removing the seat helps. Having the right tools is a bonus as well. The LED light stays cool and provides good illumination in small spaces. The small 8/32” offset open end wrench was a great help. The low profile ¼” drive rachet as well as the very long extension saved me on several of those pesky fastners.
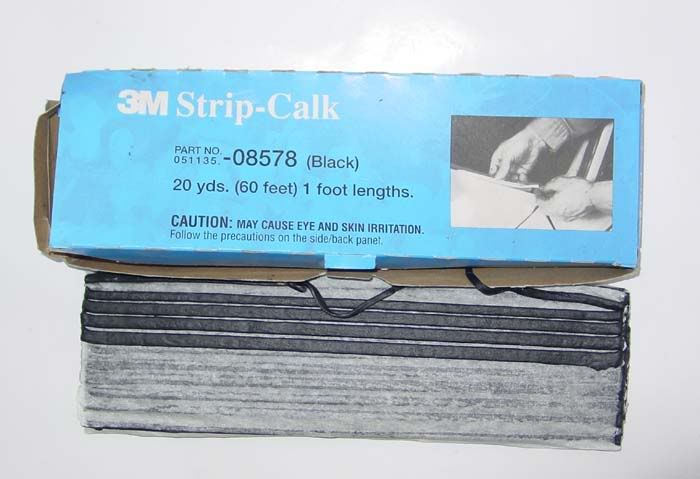
I use this caulk for a lot of things but it was great for resealing the cover in this case. You can roll it in your hands to reduce the diameter to make it any size you want.
caulk
I could not get the new evaporator into position without taking the dash supports loose on the right side. I did not want to damage the evaporator so I took the dash loose. It has several fasteners that are hard to get to and seeming impossible to replace. The replacement was easier when I shortened one of the bolts- it was way longer than it had to be to begin with.
The grommet seal on the firewall fits on the lip of the metal that you see surrounding it in the engine compartment. The difficulty is that there is another layer of steel behind the grommet. A good fit probably helps in keeping water to the outside. I cleaned the grommet with ArmorAll and used it as a lube to get the grommet into place.
While you have the blower motor out invert it and see if you can oil the bushing on one end. My surround allowed this.
Good luck and contact me if you have other questions as I will search my memory bank.
Randy
|


